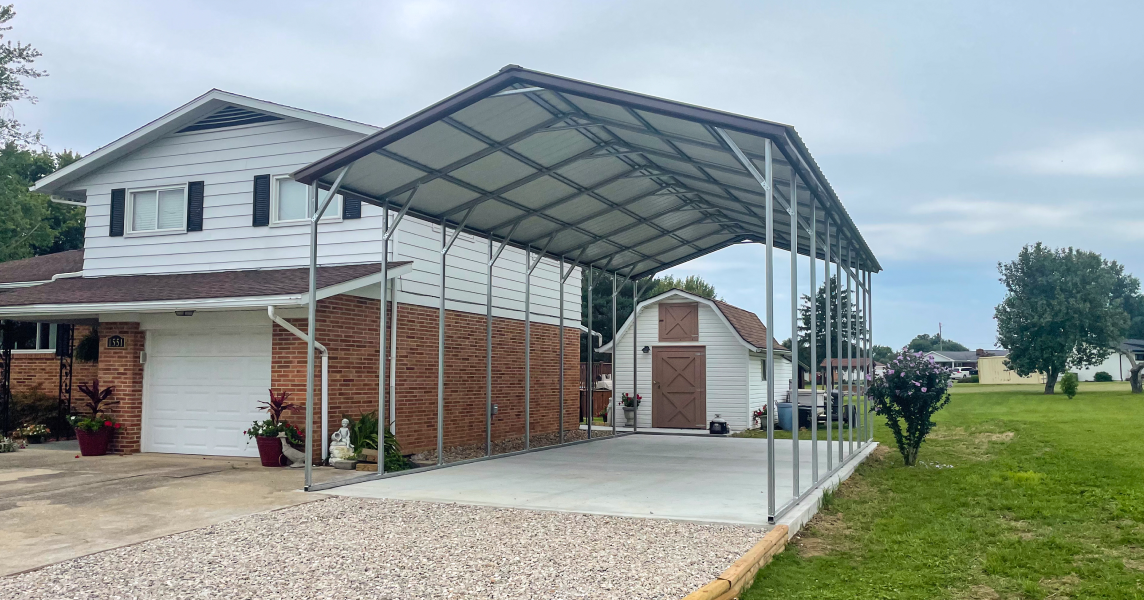
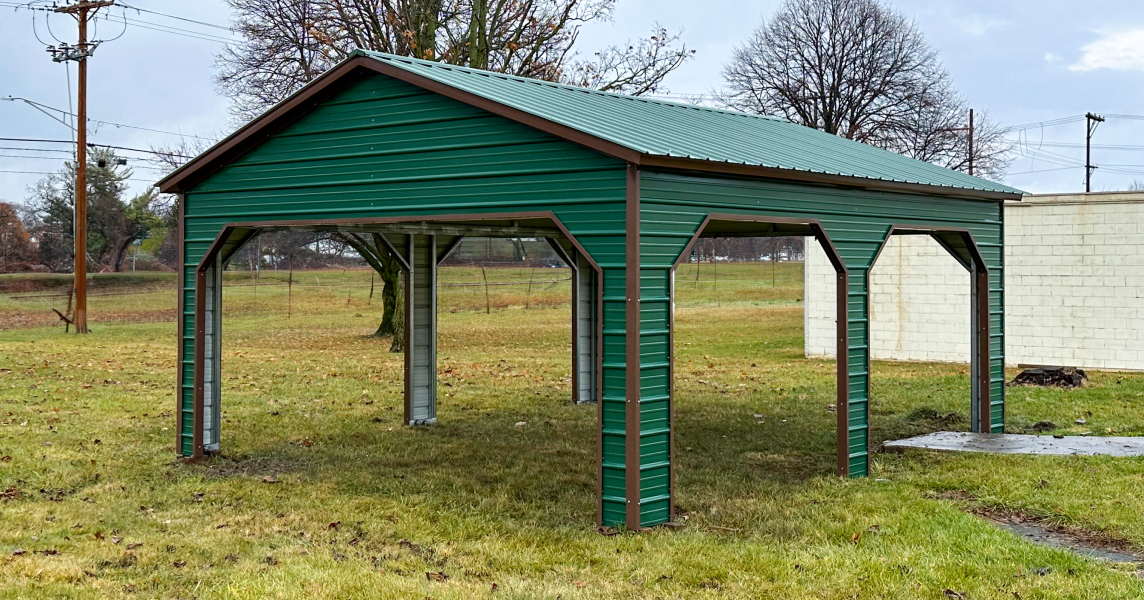
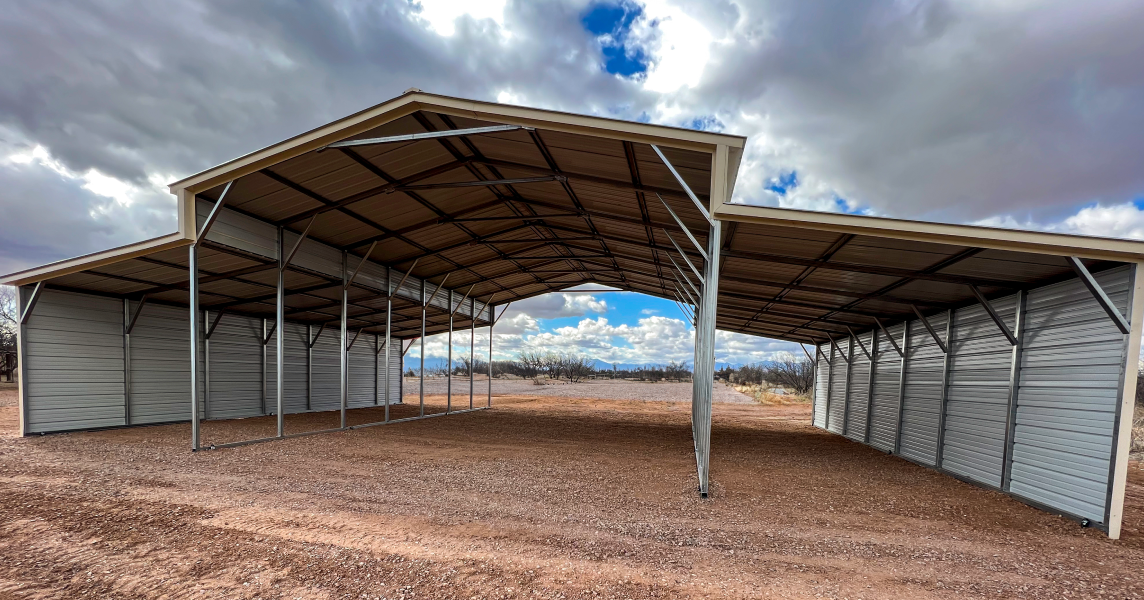
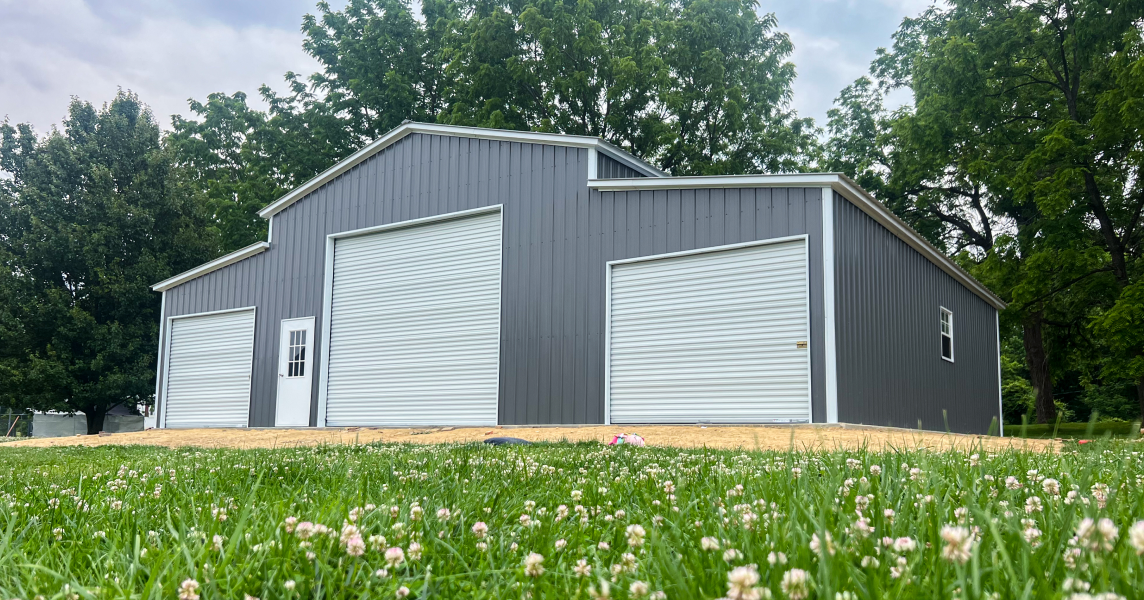
The paint on your metal carport probably isn’t your top priority. First and foremost, you want to make sure that your carport serves your functional needs, such as offering you enough space for storage. With that said, a good paint job does allow the carport to look nice on your property, and it will help to protect the condition of the metal over the long run. We’d like to provide some basic information on metal carport painting and what you should know before taking on this kind of project.
Before You Get Started
Don’t rush into this project by grabbing a can of paint and brush from your local hardware store. You’ll need to think this project through carefully and have a good plan in place before any paint is applied to the existing carport. First, it’s important to understand the fact that any warranties that are still in place on your building will be voided when you perform modifications such as painting the structure.
It’s also important to consider whether or not you will be able to handle the scale of this project on your own. Even if you don’t have a huge carport, the roof and other parts of the structure might be difficult to access with a standard ladder. If you can’t do it alone, you may need to hire a contractor for the work, or you might look at building a new carport instead of repainting the old one.
Tips for Painting Your Carport
Let’s look at some general metal carport painting tips in case you decide to dive into this project on your own. Of course, these are just general tips, and you’ll need to consider your specific case and what adjustments might need to be made before getting started.
- Make sure your primer is compatible. Painting a carport requires you to use primer, so it’s important to make sure your paint and primer are compatible. Make sure to read the labels on the paint and primer to ensure that the paint will adhere to your carport properly.
- Get the surface ready. You shouldn’t expect to just walk up to the carport and start applying paint immediately. In fact, you’ll probably spend most of your time doing surface prep work. To get the metal ready, clean it off and then use an abrasive like sandpaper to roughen the surface and enable it to hold onto the paint more effectively.
- Side to side technique. While it won’t be possible on all parts of the carport, do what you can to paint from side to side as opposed to up and down. If you apply too much paint in an up and down manner, you might struggle with streaks of paint running down the side of the metal surface.
- Pick the right day. You’ll want to have good weather conditions available on the day you choose to apply the paint to your carport. If the weather is wet, you won’t get good adhesion between the paint and the metal. Or, if the weather is too cold, it will take a long time for the paint to dry, and more running and streaking is likely. Do your best to wait for a day with no rain and comfortable temperatures to do the job.
As you prepare for this project, think about doing some test painting on a small part of the carport that is out of sight. This will enable you to see how the paint is going to adhere and see if there are any adjustments you need to make before taking on the project as a whole.
Think Through Your Options
While it is certainly possible to repaint an old carport, be sure to think through all of your options before committing to that plan. By the time you add up the cost of the supplies for such a project, and the time you’ll need to spend doing the work, you might find it’s better just to start with a new structure from American Carports, Inc. If that is the choice you make, feel free to explore our options with our Build & Price tool. This tool allows you to create a carport that matches your desired dimensions and includes the features you’d like to see in the structure. If you need help at any time, you are always welcome to contact us with questions. Thank you for stopping by and we hope to serve you soon!
Disclaimer
This article is for educational purposes only. Some of the depictions, designs, materials, accessories, setup, etc. may not be included or even compatible with our actual products. Please get in touch if you have specific questions.

