Month: June 2022

How to Make Homemade RV Wash Cleaner

Collection of essential oils: how to make homemade RV wash cleaner

Washing your RV is one of those tasks you probably wish you got around to more frequently. There is a certain pride that comes with driving down the road in a freshly-washed RV, and you’ll also be helping to maintain the condition of your rig for the long run when you keep it clean. To help make it more likely that you’ll keep up with this chore, and to help you get great results, this article is going to provide advice on making your own RV wash cleaner.

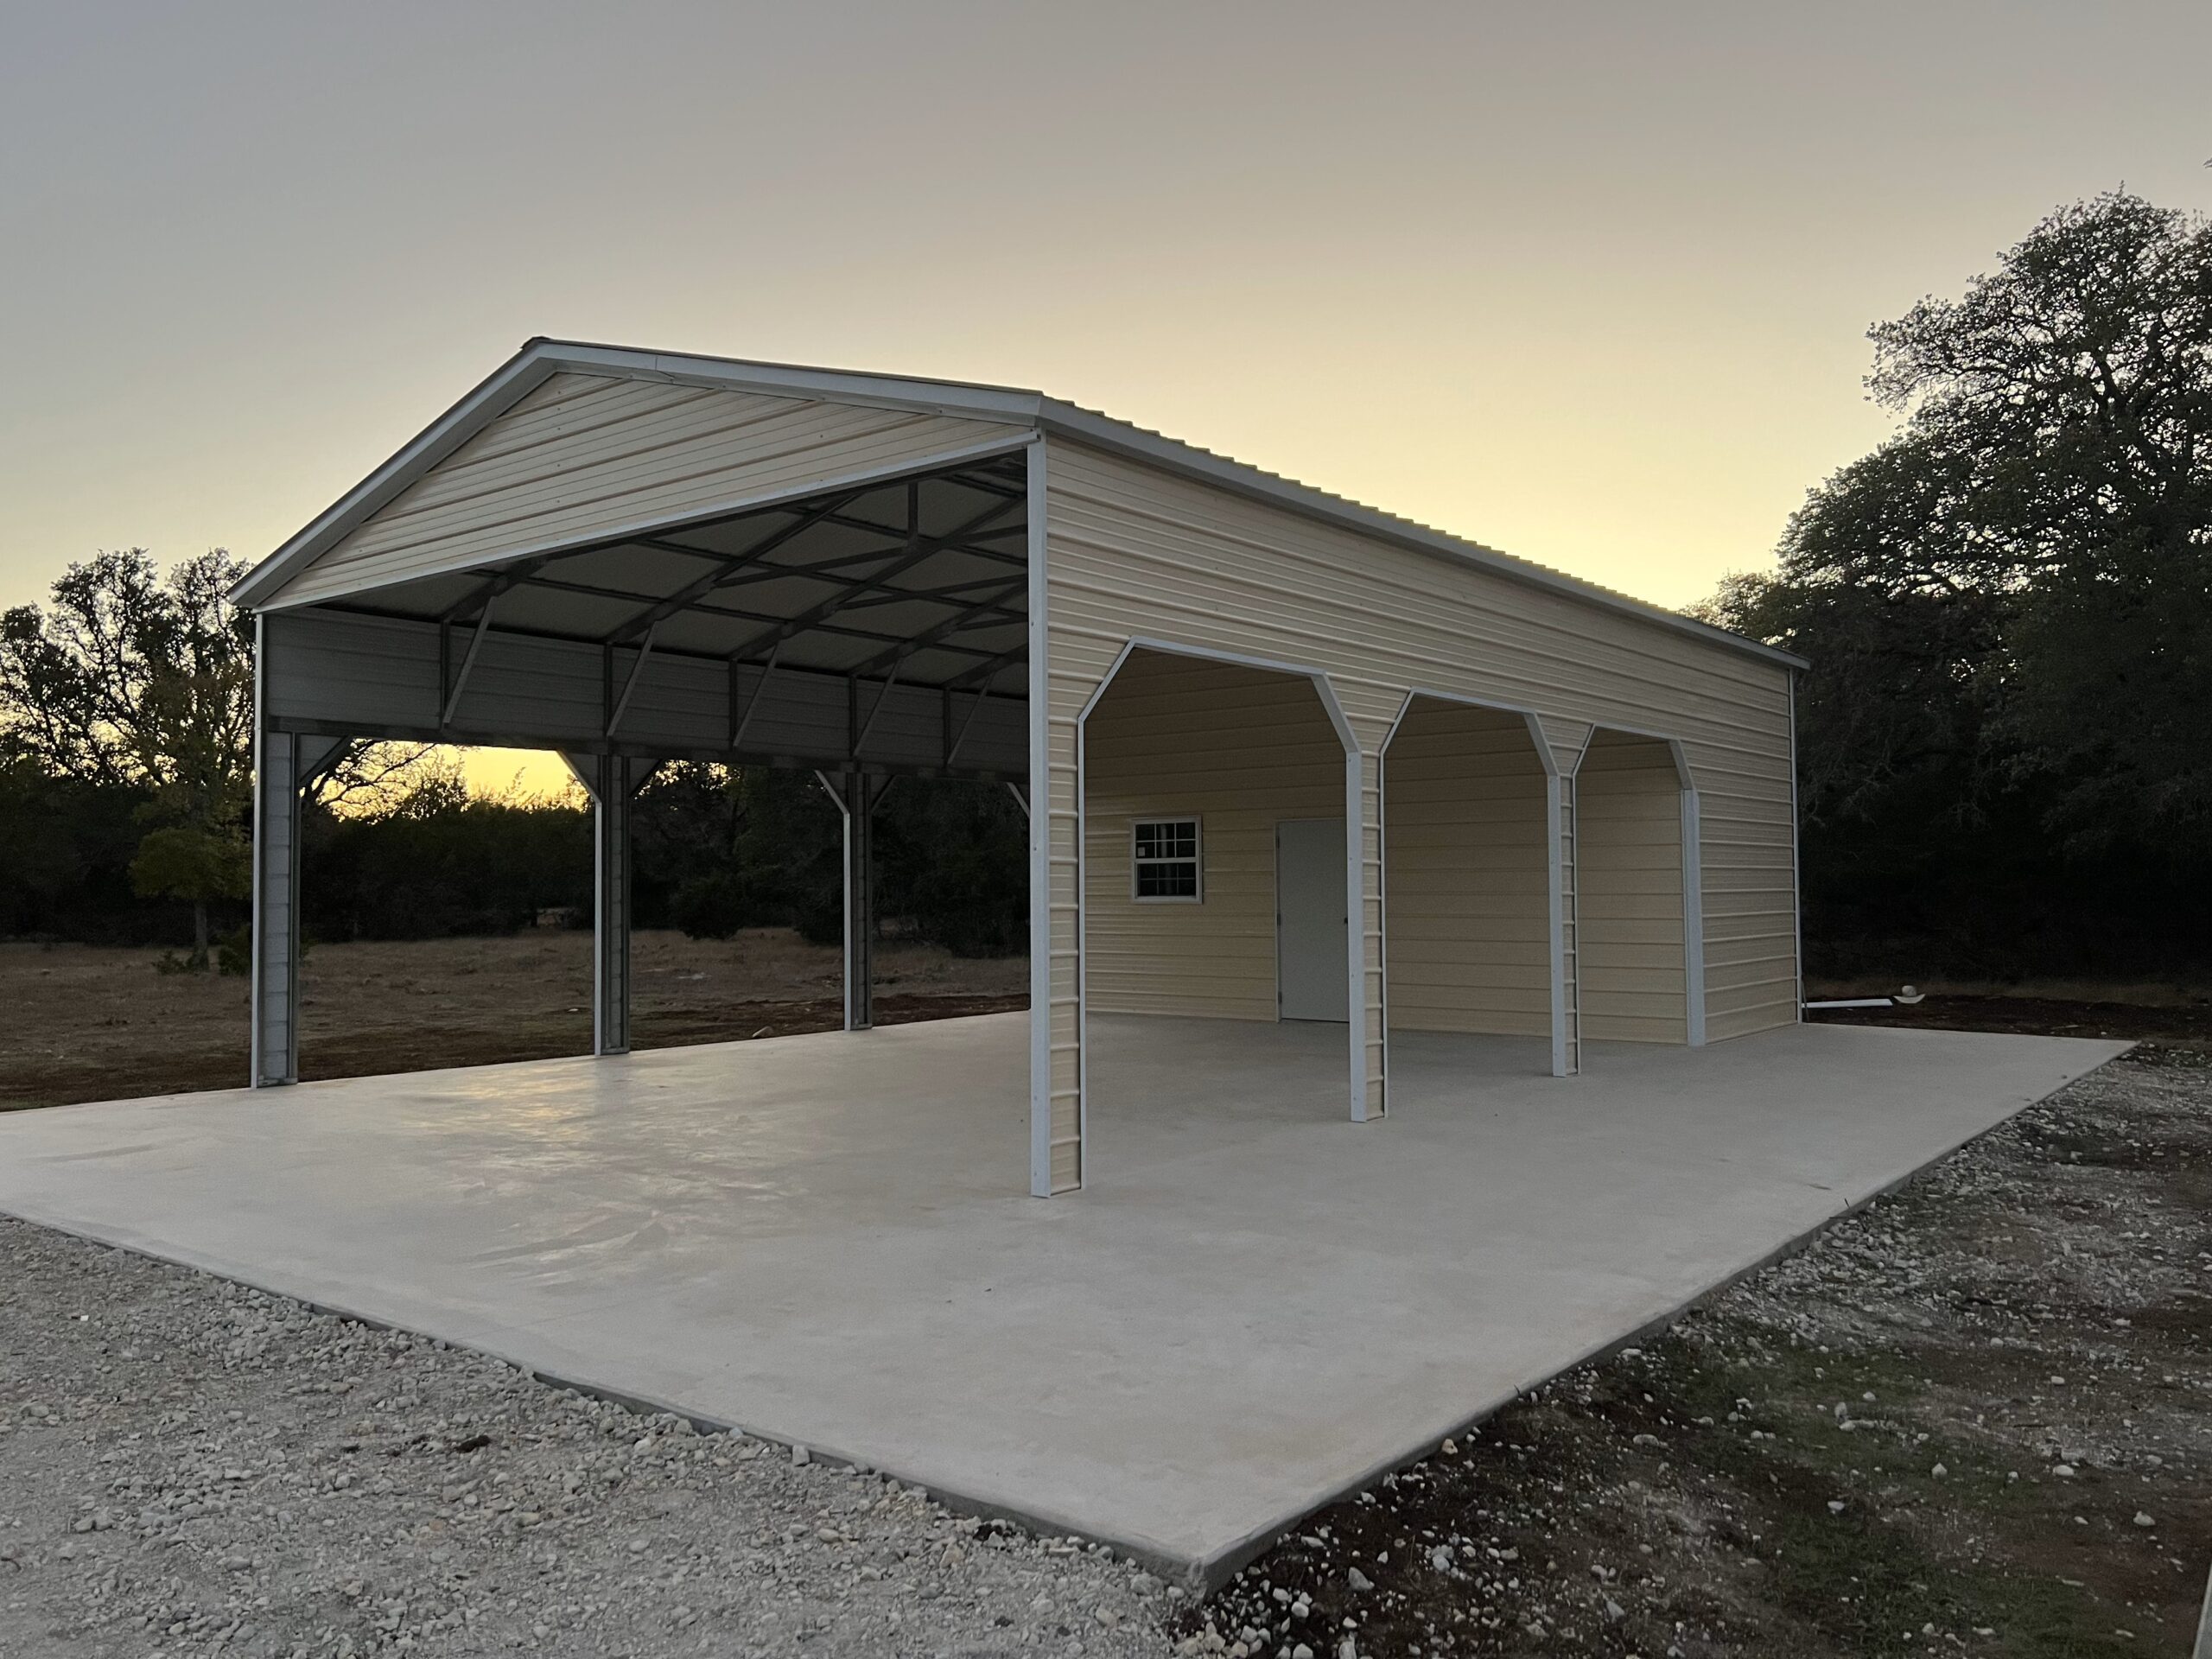
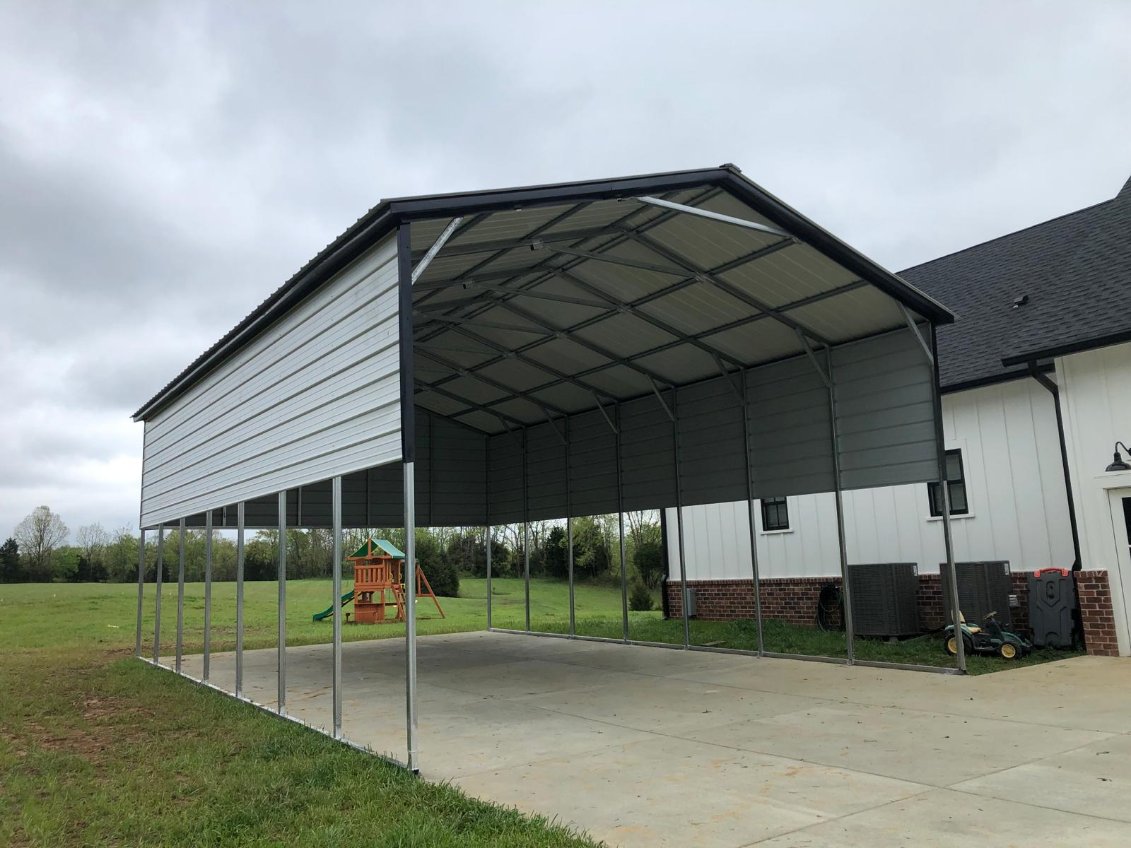
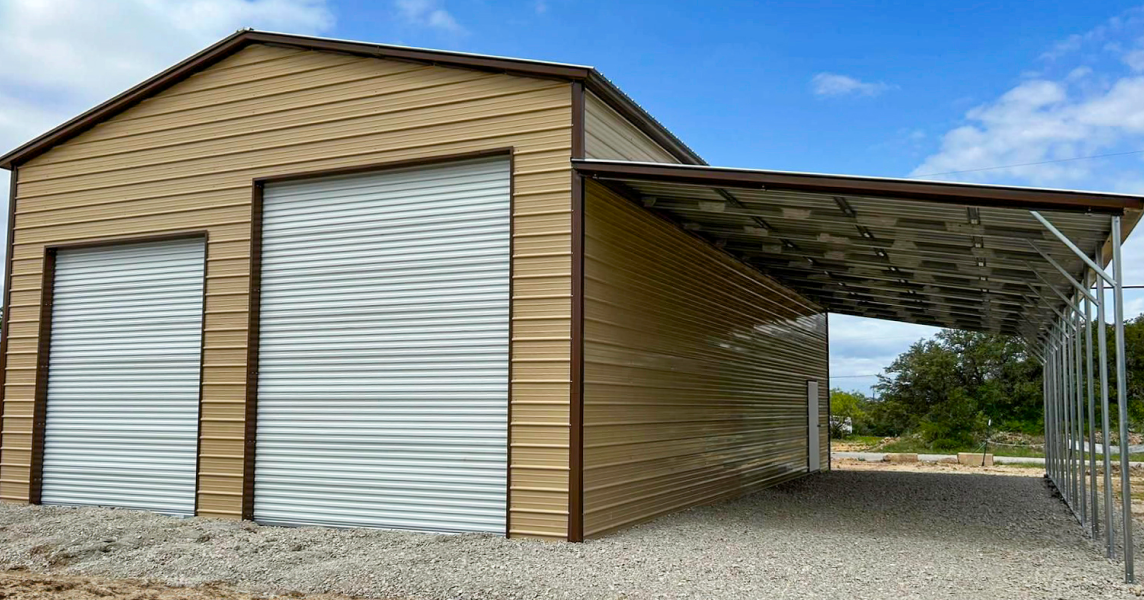
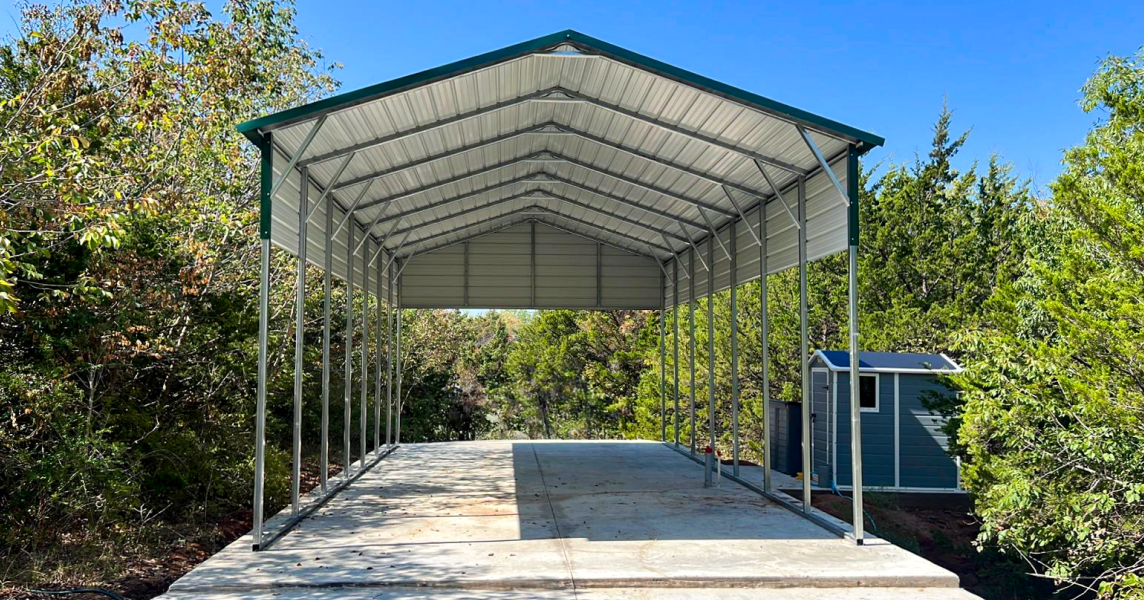
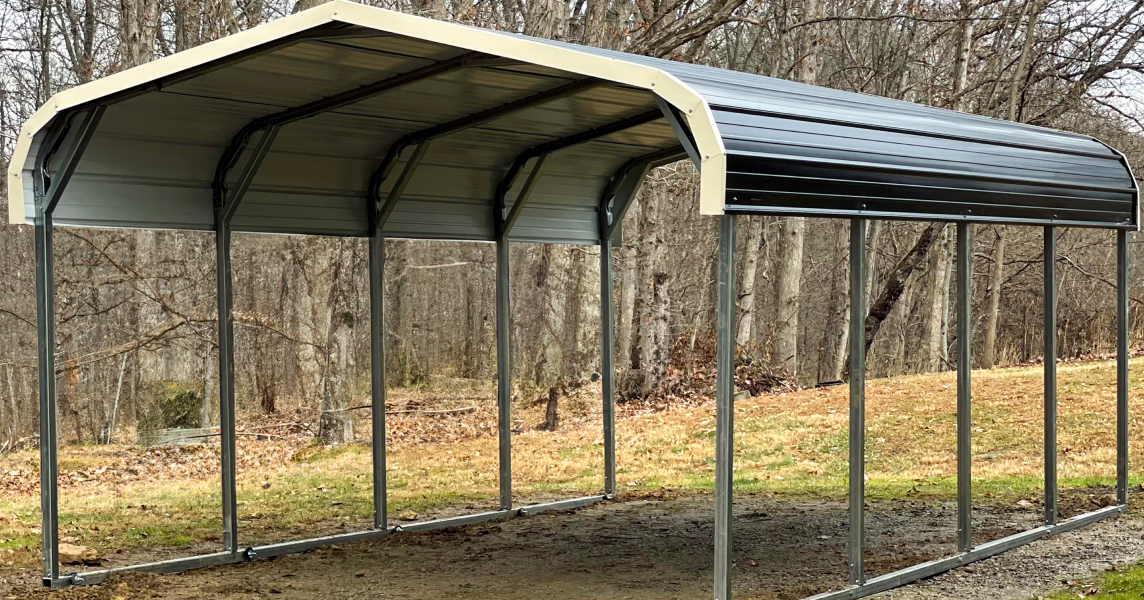
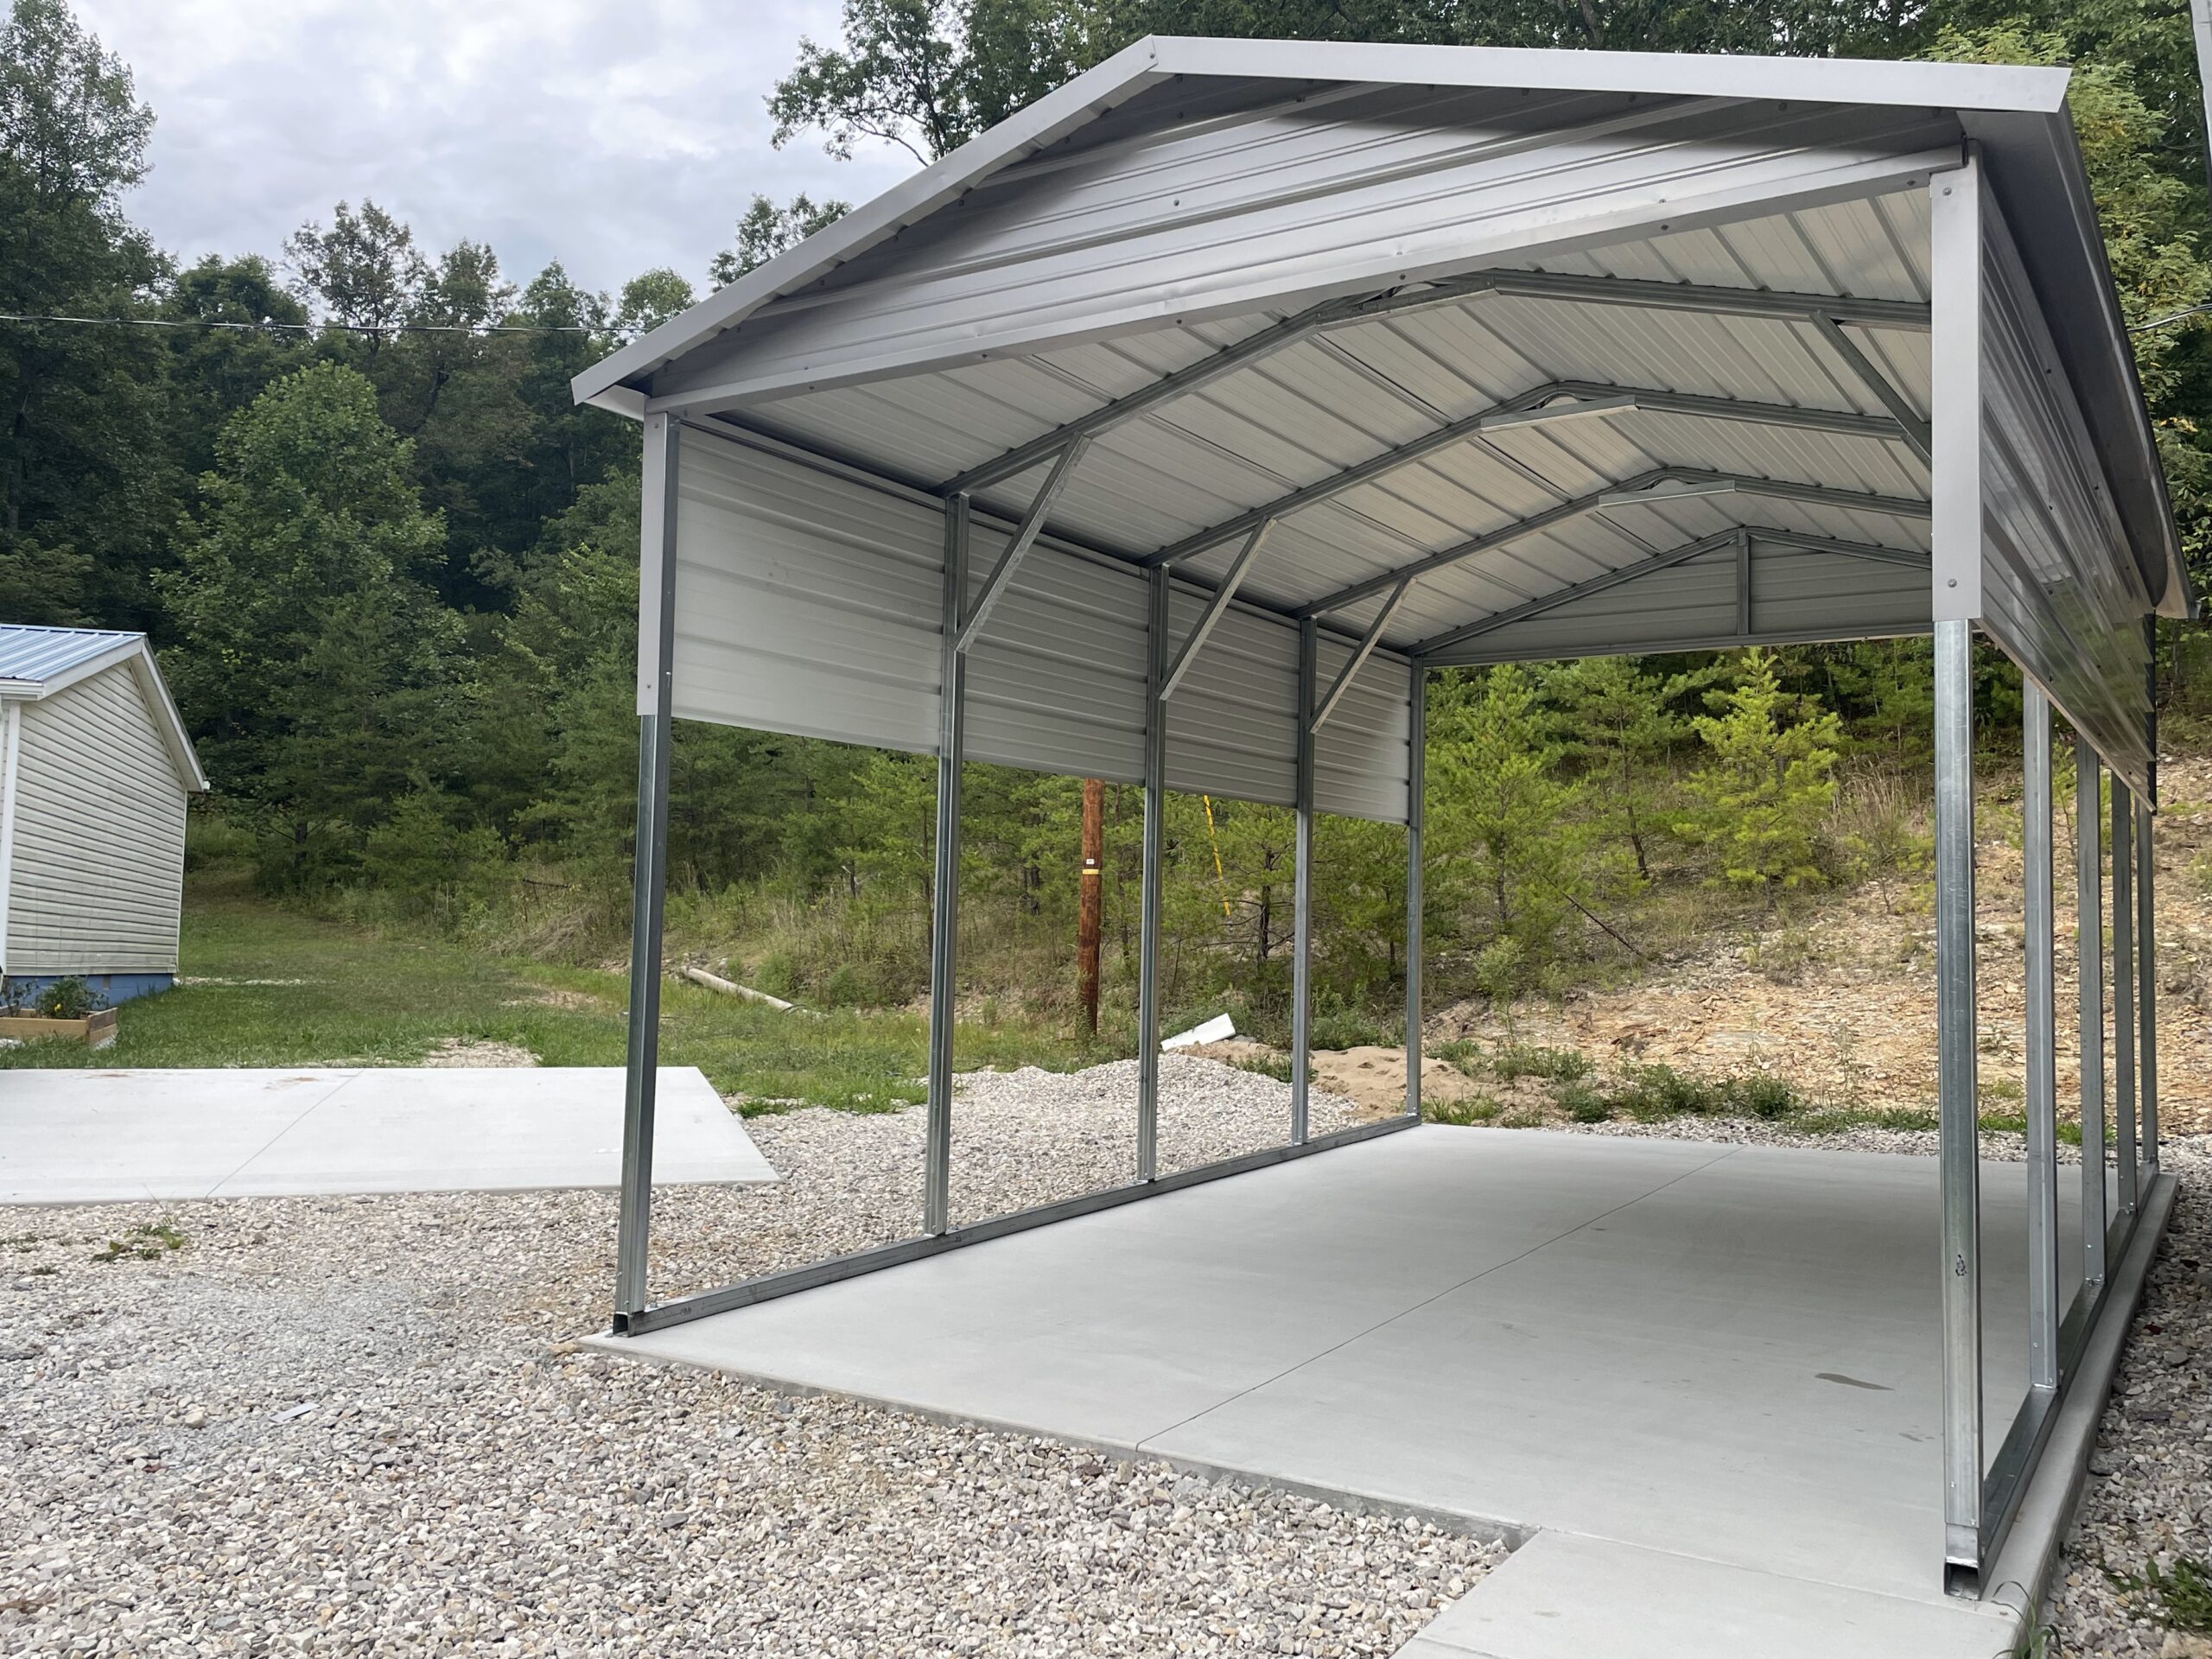
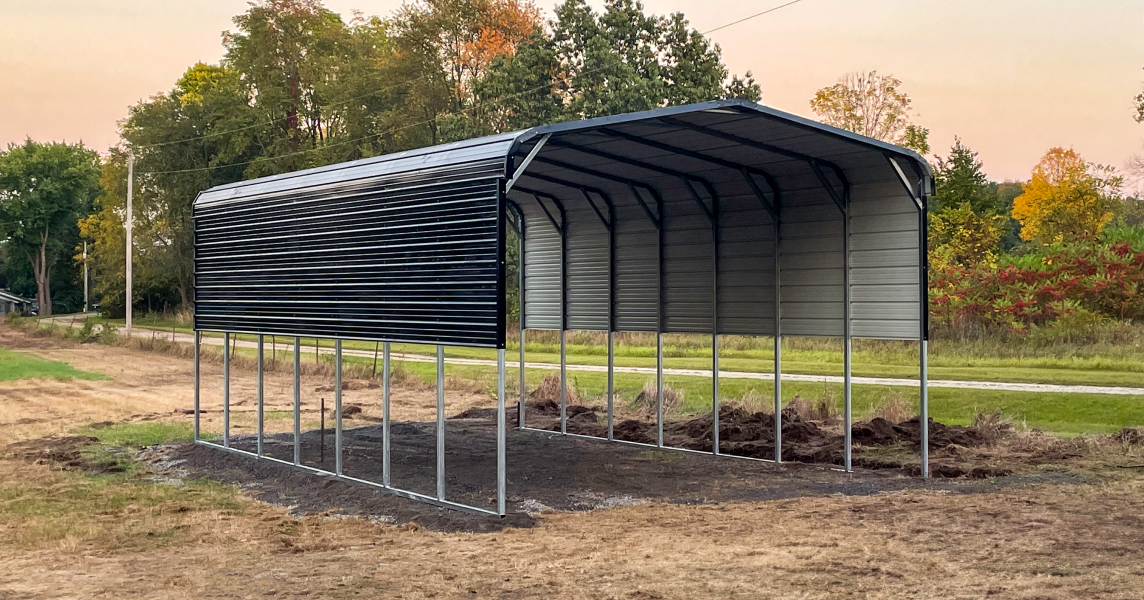
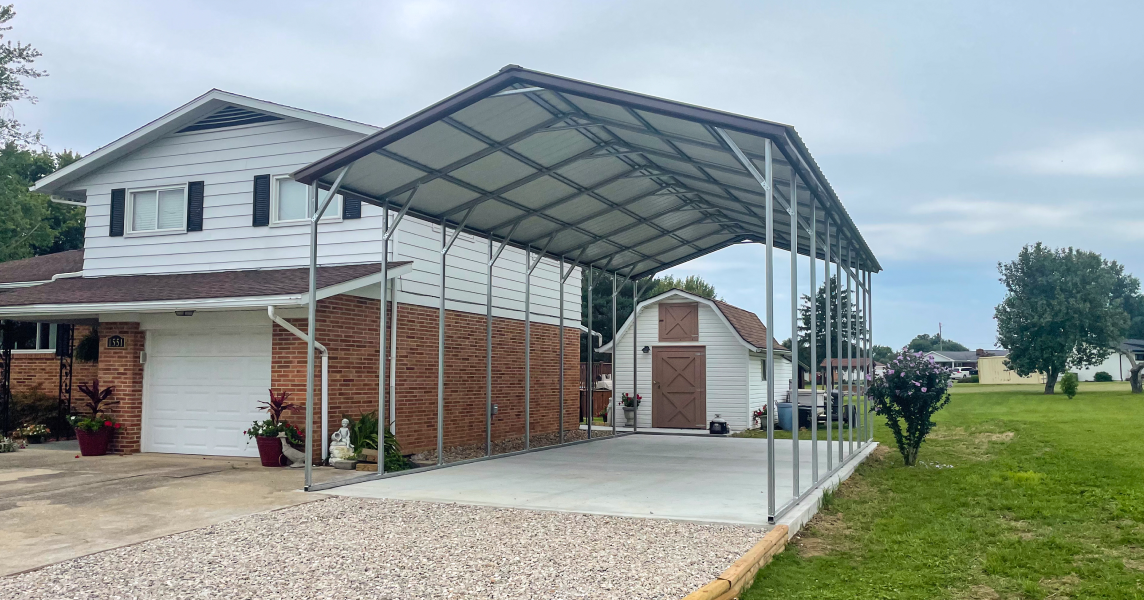
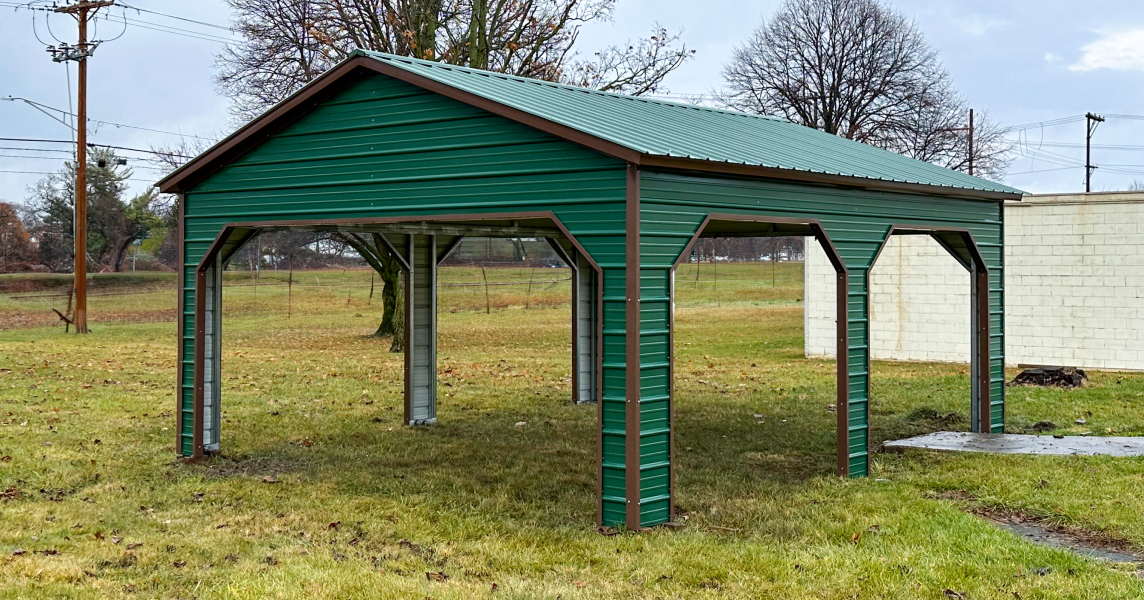
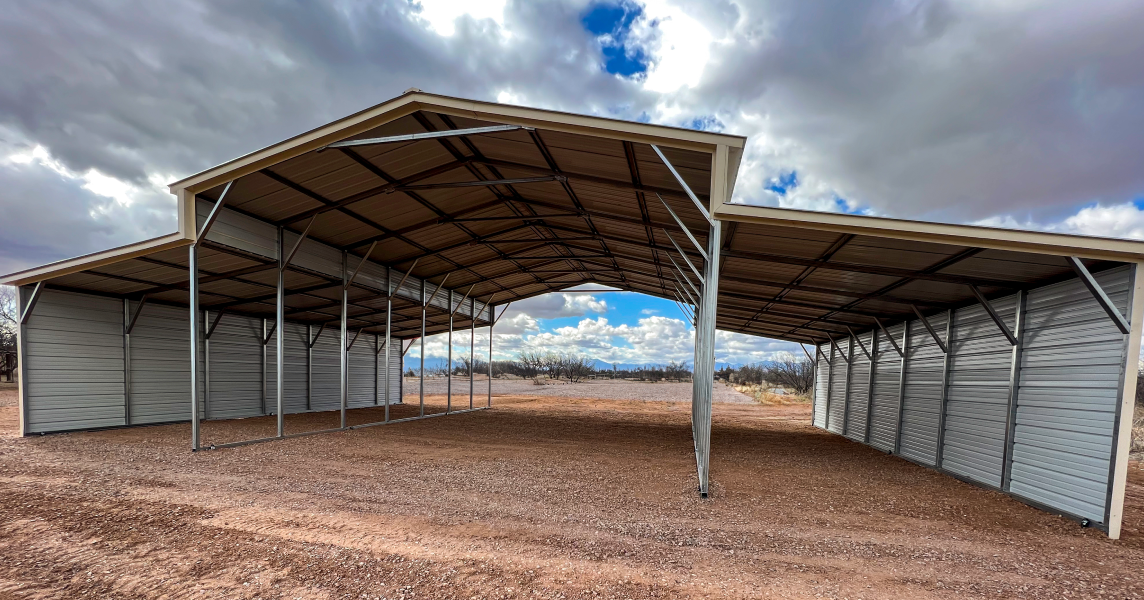
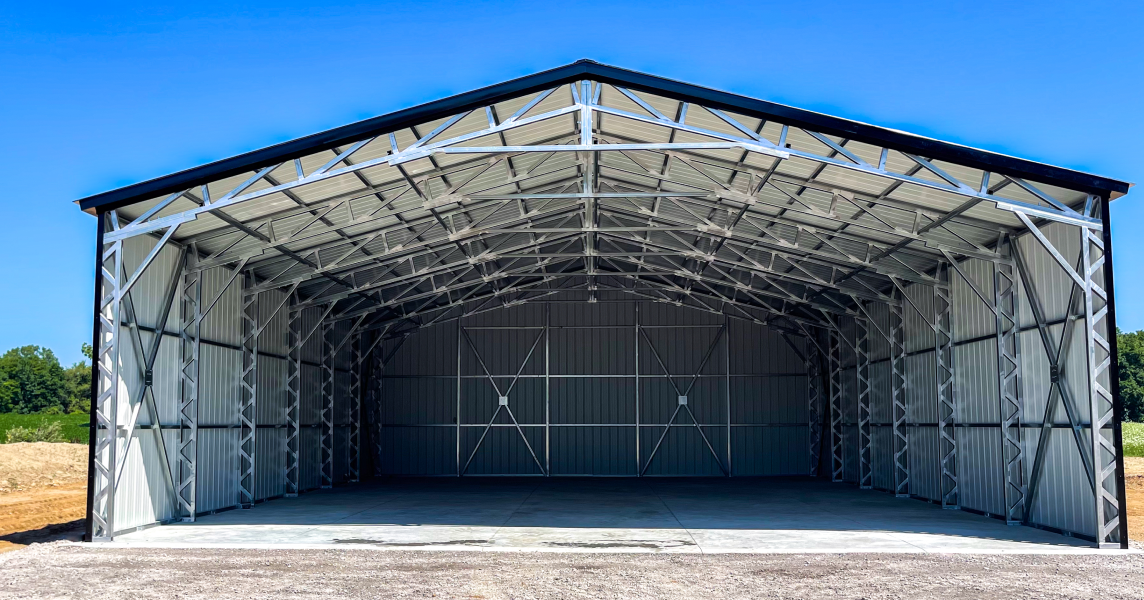
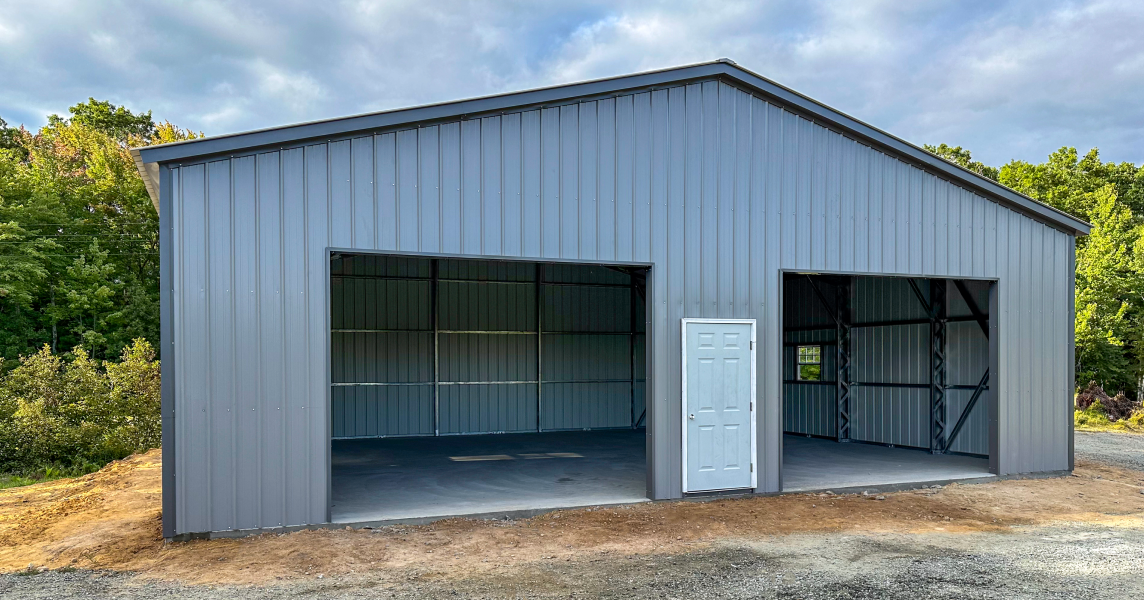
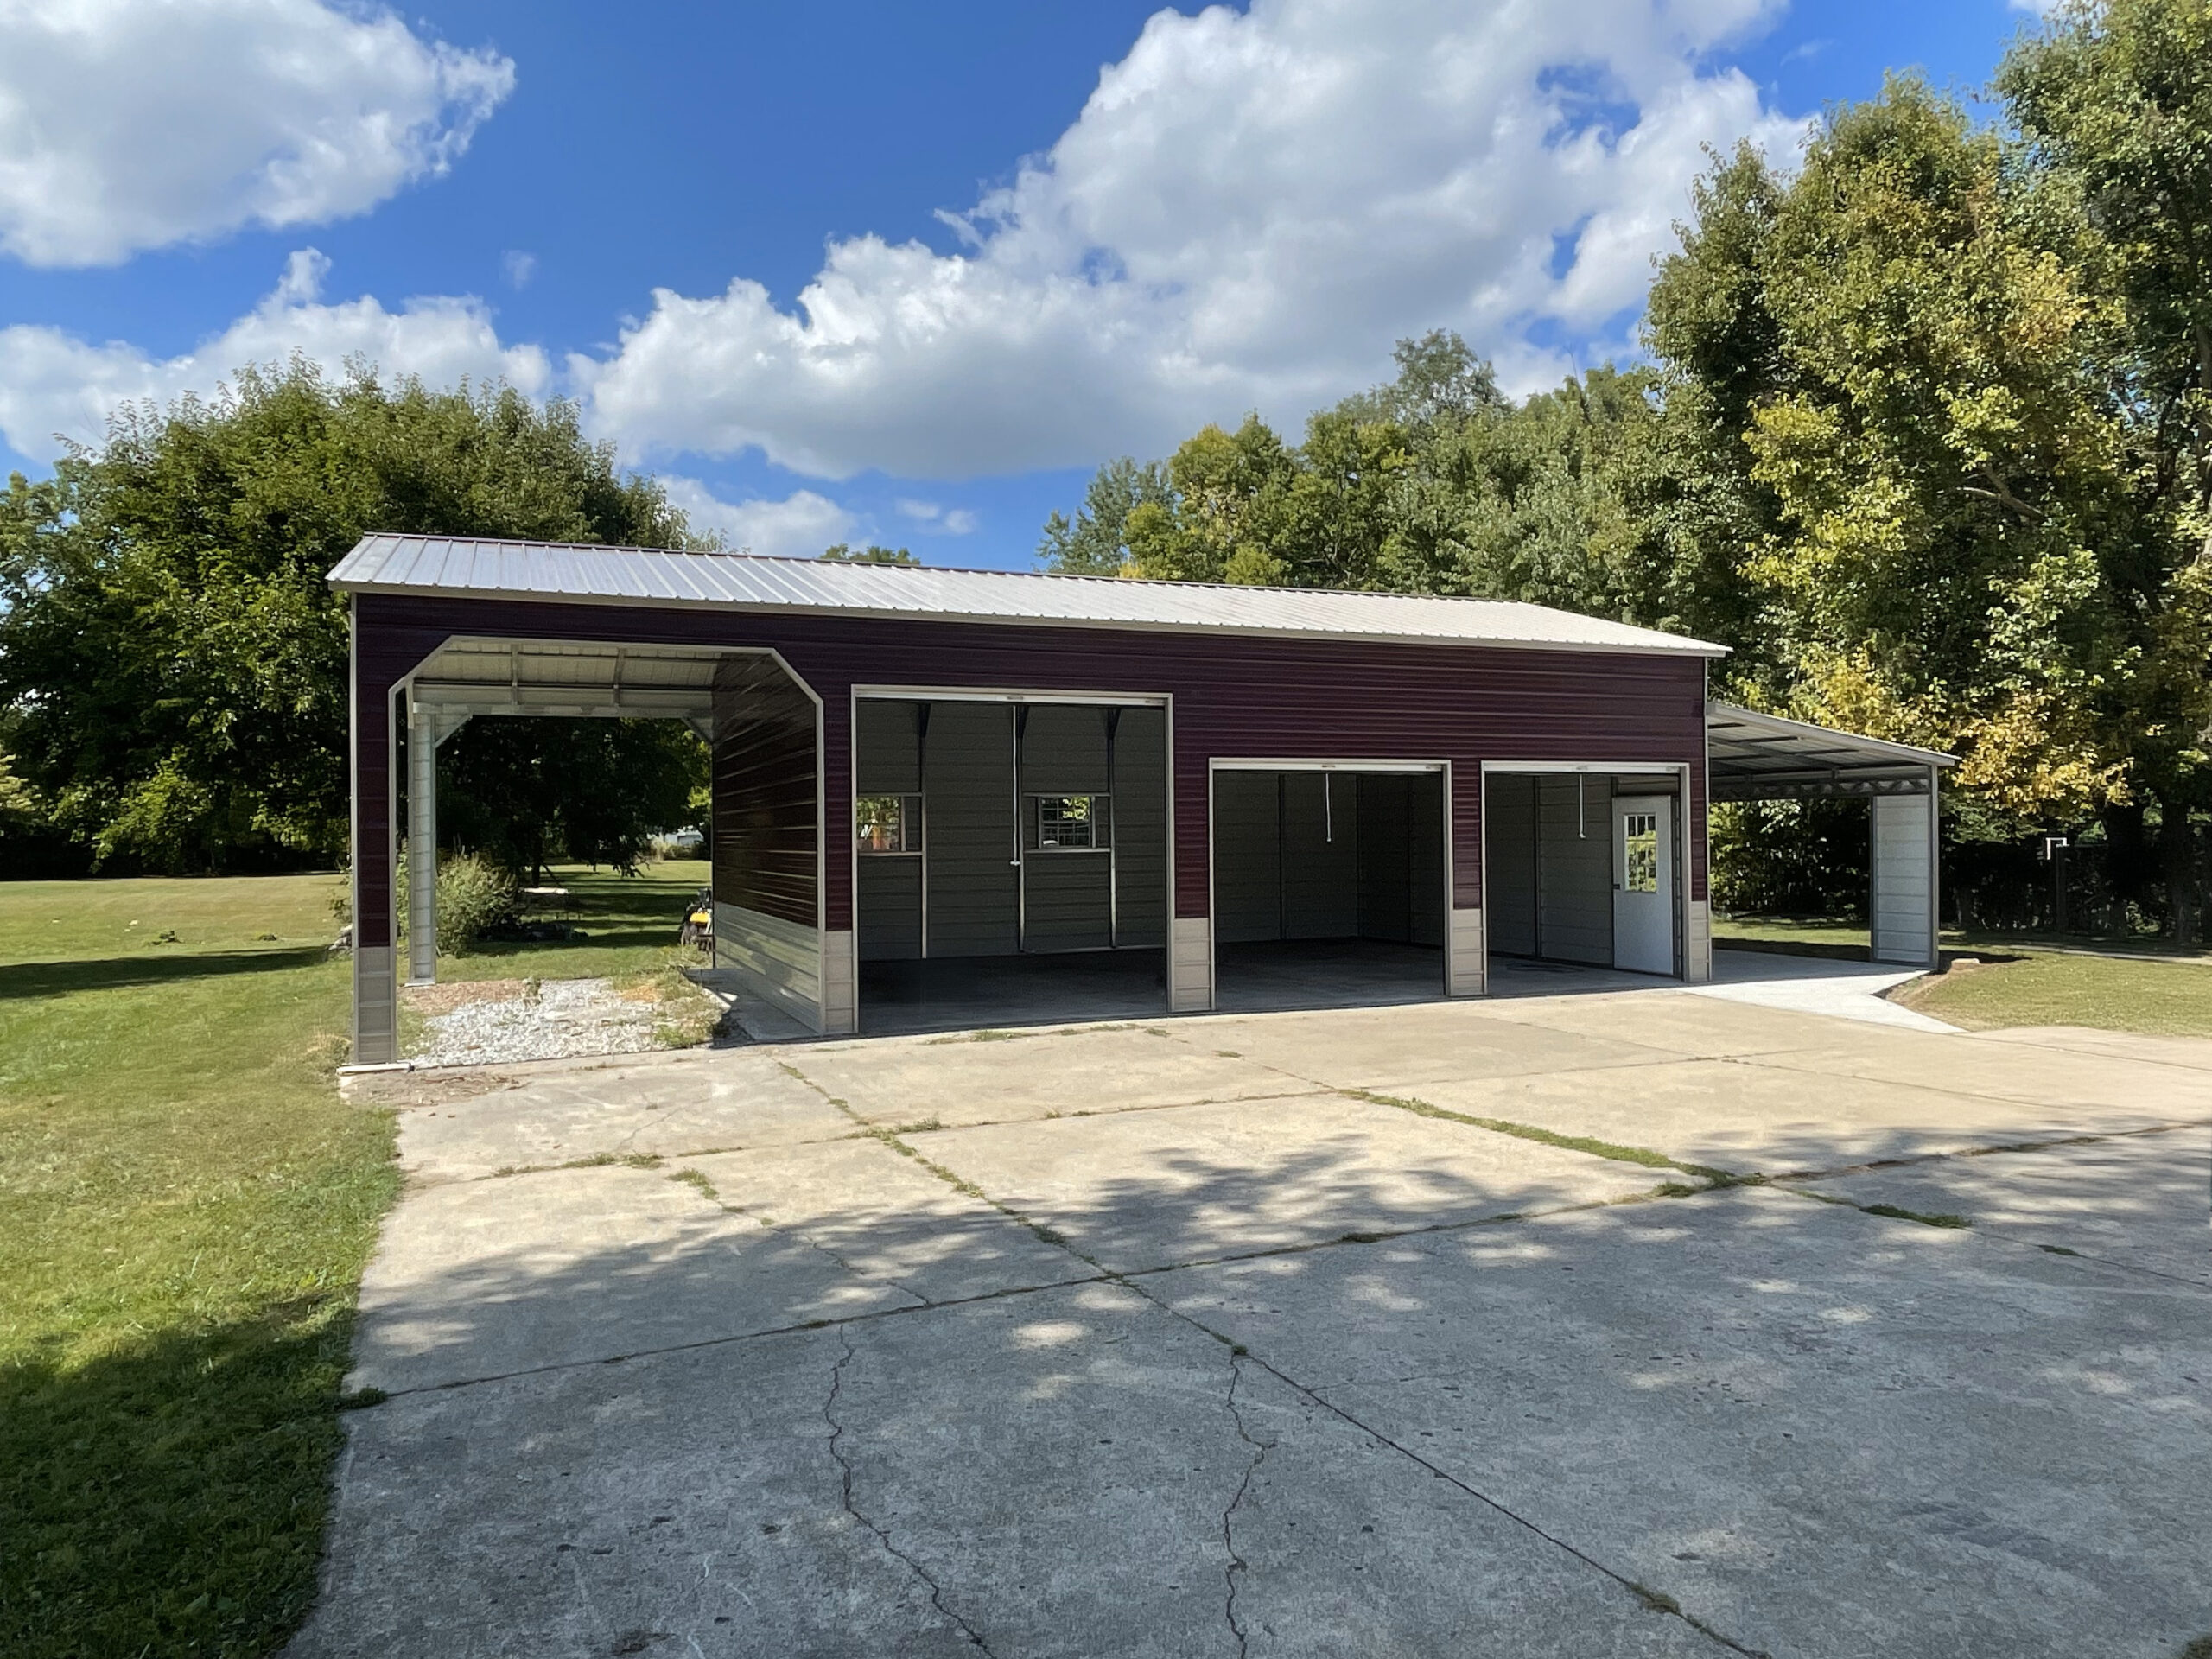
Beyond regular washing, another good way to protect your rig’s condition is by parking it under a cover. An RV carport from American Carports, Inc. makes for a great home for your recreational vehicle, and these structures are surprisingly affordable. See what’s possible today by using our free Build & Price tool or by reaching out to us for more information. We are here to serve you!

Different Cleaners for Different Jobs

To get started on this process, it’s important to note that you’ll probably want to make a few different types of cleaners to bring back the shine to your RV. This is necessary for one specific reason – the exterior of your RV features a variety of different materials. It’s hard to get ideal results if you try to use just a single cleaner for the whole RV since you’ll be going over so many different surfaces along the way.

If you decide to mix up some different cleaning solutions, then organization is going to be critical. You won’t want to get these things confused, so it’s important to mark your bottles or containers so you can always reach for the right one for the right job. Even if you are using all of the cleaning solutions on the same day, it’s still worth marking a container for each. Then, you won’t run the risk of getting mixed up, and you can use those same containers over and over for future projects.

General Cleaner

For most of the outside of your RV, and even some of the inside, you can use a general cleaner that will help to remove dirt and debris with ease. While you can experiment with the proportions to get something that works well for you, start by trying a mix of 3 parts water and 1 part white vinegar. This is a good basic mixture, and you can then add a bit of baking soda for added cleaning power and something to bring a nice scent to the party.

For example, you might decide to start with six cups of water and two cups of white vinegar, which would perfectly match our ratio. Then, you could three or four tablespoons of baking soda, and maybe a little bit of citrus or essential oil that has an appealing smell. The inclusion of vinegar in this formula is the key, as it will work effectively to knock out mildew and even mold if it has begun to grow in certain areas. Just wet the RV, wipe it down with this solution, and spray it off again with fresh water.

Specialty Cleaning Solutions

Once you have mixed up your general cleaner, you might also want to get out a couple of other jars to make some solutions that will address other areas of the rig. Here are two ideas that will come in handy for most RV owners –

  • Cleaner for a rubber roof. If your RV has a rubber roof, getting that surface clean is important and will require a good plan. For this cleaning solution, you can keep things simple and mix water and dish soap in a bucket. If you have it available, add a tablespoon or two of mineral spirits to improve your results. Of course, you should always be careful when washing the roof of your RV, so don’t hurry through the process and get help if you feel uncomfortable with any part of the job.
  • Glass cleaner. Not only will getting the glass on your RV clean help it look great out on the road, but it will also improve your experience when looking out from the inside. Again here, we are going to turn to vinegar for its cleaning power, mixing it with warm water, rubbing alcohol, and a bit of cornstarch. For proportions, try 8 parts water to 1 part vinegar and 1 part rubbing alcohol, with just a small scoop of cornstarch added to bring everything together.

Keep Your RV Looking Its Best

Sure, making your own homemade RV wash cleaner won’t do the work of washing the RV for you, but it will help you get excellent results whenever the chance arrives to complete this task. And, by keeping your RV under a carport, you will be able to maintain the results of your wash for longer than if you left it parked out in the elements.

Get started on a carport project today by exploring our free Build & Price tool!


How to Remove Mildew from Your RV’s Exterior

RVs parked outside of a camp: how to remove mildew from RV exterior.

It’s a reality for most RV owners that their rigs will sit idle for long periods during the year. Maybe you’re waiting for better weather before you take a trip, or you simply need some time off from work to explore the world. Whatever the case, it’s common for mildew to accumulate during these idle times, and you need to know how to remove that mildew properly to restore the condition of your RV before heading out on a new trip. Read on for some basic steps on how to easily remove mildew from your RV.

To help keep your RV in good condition between trips, you can also consider parking it under a roof – such as a metal RV carport from American Carports, Inc. Explore our free Build & Price tool to create a custom design for your structure. If you have any questions along the way, contact us. Our team is happy to help!

Why Should You Care?

On some level, mildew on the outside of your RV doesn’t seem like a big deal. Sure, it doesn’t look great, but if you aren’t too concerned about the cosmetics of your rig, you might think you can leave the mildew and go on about making your travel plans. Unfortunately, that plan won’t lead to a good outcome.

For one thing, mildew accumulation on your RV leads to exterior damage. When you do get around to taking it off, or when it comes off on its own, you might find that the paint has been damaged and the exterior shell has been compromised. It’s also possible that the mildew will start to work its way inside.

There is also an unpleasant odor that comes along with mildew. Even if the mildew is only on the outside, you can smell it while you are hanging out under the awning, and you might even smell it inside the RV while relaxing or trying to sleep. Any way you look at it, getting rid of the mildew promptly is your best bet.

Create a Plan

The first step involved in eliminating the mildew on your RV is thoroughly examining the rig to track down all areas of mildew that have developed. Take your time to walk around the RV, and consider using a ladder to get a closer look at the higher areas of the RV. For a large rig, use a notebook to write down where you found mildew so you can come back through and clean them up later.

With the areas of mildew identified, the next step is choosing the correct cleaning products. Here, you have a couple of options – you can purchase a premade product from an RV supply store that is specifically designed for this task. That will work nicely, of course, though it might be a little bit expensive. As an alternative, you can opt for a homemade solution such as spraying plain white vinegar on the affected areas. This is a proven, affordable method that should lead to excellent results. Leave the vinegar to sit on the surface for an hour or two, then scrub it off and rinse the area.

A Few Important Points

Before you dive into this job, remember that safety is always paramount when working on your RV. Be careful if you need to use a ladder, and find the flattest possible area to park the rig while working. Also, pick out a dry day to make sure your cleaning solution isn’t diluted before it can go to work on eliminating the mildew. With good weather on your side and enough time to work safely and patiently, you can check this task off your to-do list in soon enough. Removing the mildew from your RV doesn’t have to be a difficult job, but you do need to have the right tools and a little bit of spare time to do it right.

We hope the tips in this article on removing mildew are helpful. Feel free to reach out today for more information on the quality, affordable RV carports we have available to keep your vehicle looking its best!

How to Clean Aluminum RV Siding

Exterior of an RV: how to clean aluminum siding

There are few things on the road that look better than a clean, beautiful aluminum RV. And if you happen to be the proud owner of an RV with aluminum siding, you need a game plan to keep it clean and flawless. Read on for some basic tips on keeping your RV looking its best before your next outing.

Protect It from the Elements

In addition to cleaning properly cleaning an RV, one of the best ways to care for it is parking under an RV carport. To add a durable carport to your property, turn to American Carports, Inc. and our Build & Price tool. With this tool, you can create a custom structure that will fit your RV and anything else you would like to store under its roof.

Shop Carefully

Before you pull your RV into the driveway to start cleaning, you need to shop intelligently for the right products to use on the sides of the rig. While you should be able to use most general RV wash products, remember to read the label to confirm that the product is meant for use on aluminum. Also, avoid using an acid wash product to clean the sides of your RV. Although you may get pretty good results with that approach, you would also be eroding some of the aluminum, leading to eventual damage over time.

In addition to a cleaning agent, you also want to have a scrubber that isn’t going to damage the aluminum siding. Something soft without much of an abrasive surface is your best choice. When in doubt, test your scrubber on a small, out-of-sight piece of aluminum siding to see how it works before proceeding with the rest of the job.

Preparing for Great Results

The first step in the cleaning process is to perform a general wash to remove any build-up or debris present on the RV. After returning from a trip where you explored trails that were beyond the end of the paved roads, your rig could be quite dirty. Doing a pre-wash with your hose and sprayer means you won’t have to work as hard once you start applying soap and scrubbing.

If you are the type of RV owner who likes to add stickers to your trailer, you may want to remove them as part of the cleaning process to start fresh with a clean look. Consider using an adhesive cleaning product that helps remove the stickiness with minimal effort. Once the stickers are off, proceed with the actual cleaning of the RV.

Work from the Top Down

This is the same approach that you take when washing a car, but it’s a little harder to do when washing an RV. You might need a ladder to get the water and soap up to the top of the rig at the start of the washing process, working your way down as you go. If you get this backward, you’ll end up with streaks of dirt and grime that drip down onto the lower parts of the RV that you already cleaned. Get the top sections out of the way first and work your way down until you reach the level of the tires where you finish the job.

Don’t Forget to Dry

Drying off the RV after you clean it is an important step that helps you come away with excellent results. If you fail to dry the RV, you can expect streaks all around the body of the trailer and not the clean and shiny appearance that you imagined. A couple of clean, soft towels and a few minutes of work will leave you with a beautiful, dry RV.

Keep Your RV Looking Its Best

The task of cleaning your RV’s aluminum siding doesn’t have to be a long, laborious process. Using the tips above as a starting point, you can create a system that leaves your RV looking great without spending too much of your time. Of course, be sure to consider the possibility of parking your RV under a carport that is supplied to you by American Carports, Inc. Don’t hesitate to contact us for assistance. We look forward to serving you!